To build the ESP12-E in-circuit adapter some parts are required. Here the list of Materials:
Required tools:
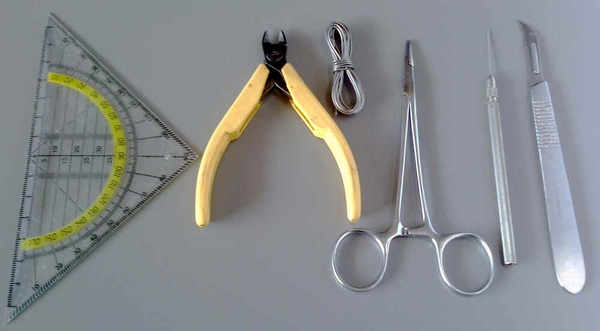
- Small wire cutting pliers of good quality.
- A sewing needle that just fits through the holes of the ESP12-E
- A Skalpel with blade 12 or a new cutter blade
- Small, strong compressorium pliers
- Soldering iron or soldering station with fine tip and soldering tin
- A geometric triangle
- A hot glue pistol with hot glue sticks
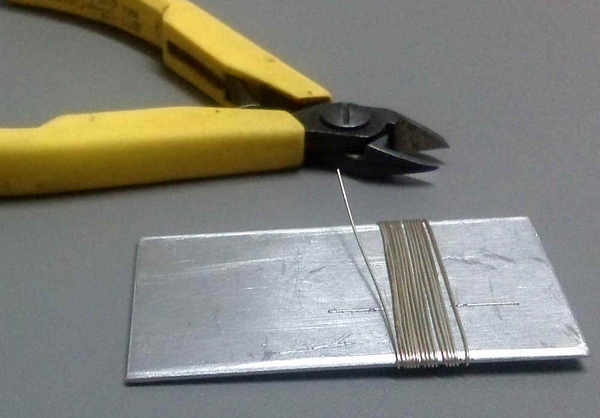
- A winding Plate of with 36 mm with rounded edges (will be used to form the contact wires)
Helpful tools, but not indispensable:
- A proper needle holder to ease the needle use.
- A one time insuline suringe with fine needle filled with flux. I use S39 CU+ from CFS Products Holland. Other fluxes may of course work also.
- A PCB holder th fix the parts while soldering.
- A piece of sand paper to clean up the PCB edges.
Required parts:
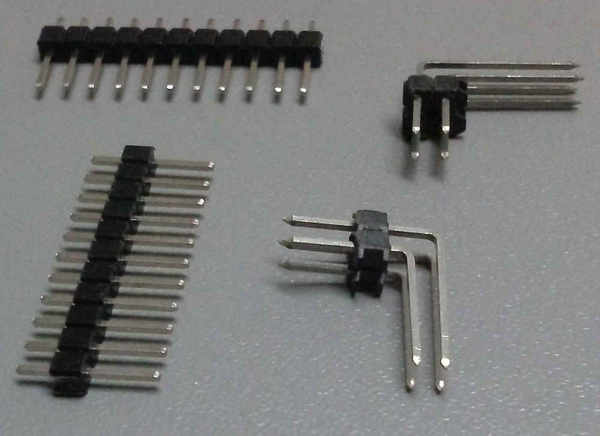
- 2 pin headers with 11 pins
- 1 angle pin header with 8 pins
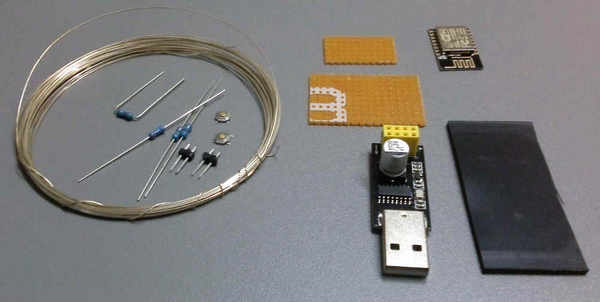
- 5 resistors 1/4W 12 KiloOhm bendable to 7.5 mm grid.
- 2 Miniature keys (buttons) – see Image
- capacitor 0,1 uF (for safety)
- Cyanacrylate glue (witch glue)
- Programming adapter for ESP8266 ESP01 “USB to ESP8266 Serial Wifi Module Developent 8266 Wifi Board Adapter CH340G” – Please have a look in the bay yourself.
- Bread board with grid (1/10″) 2.54 mm 40 x 25 mm und 22 x 14 mm. The board may be extracted of a larger one by scratching it with a cutter and break it afterwards.
- Hard pulled silver plated wire with diameter 0.45 mm. If the wire is still soft, you may stretch it in between two pliers until it nearly rips. This makes the wire stronger and also nicely straight. Better is of course gold plated steel wire, but this is difficult to get.
- A piece of flat rubber 18.5 x 25 x 2. The rubber should not be too hard but also not too soft. For your orientation: The rubber of a old style wire latch beer bottle has about the right hardness. Foam rubber is insufficient.


