To move a movement robot syncronized to music or speech, it is required to add the movement in some way according to the tone. In this project this happens by moving a joystick by hand synchronous to the sound. At the same time the movements will be output to the servos to be able to check the results on the fly. The number of recording channels is no more really limited and just depends on your project. In case of the two demo Heads the number of servos were only 24. This limitation is just coincidencial and not a limit for other projects. Because with a joystick only two channels can be recorded, the recording of all channels need to be done sequentially. In case of the yellow demo heads, I recorded first the mouth movement according to the song audio mp3 file. Because mouth movements are very quick, they need full concentration to acieve a more or less accurate result. Therefore I just recorded one channel only, though I had two channels available. Then I recorded the eye lid movement with also only one channel. Finally I recorded the eye movement with two channels at the same time. The audio data may be divided into single, short sections, to allow the puppet player to respond in the speech pauses. After finishing recording, audio data and movement can be output step by step by pressing a button, so that the audience has the impression the puppet talks really to the puppet player.
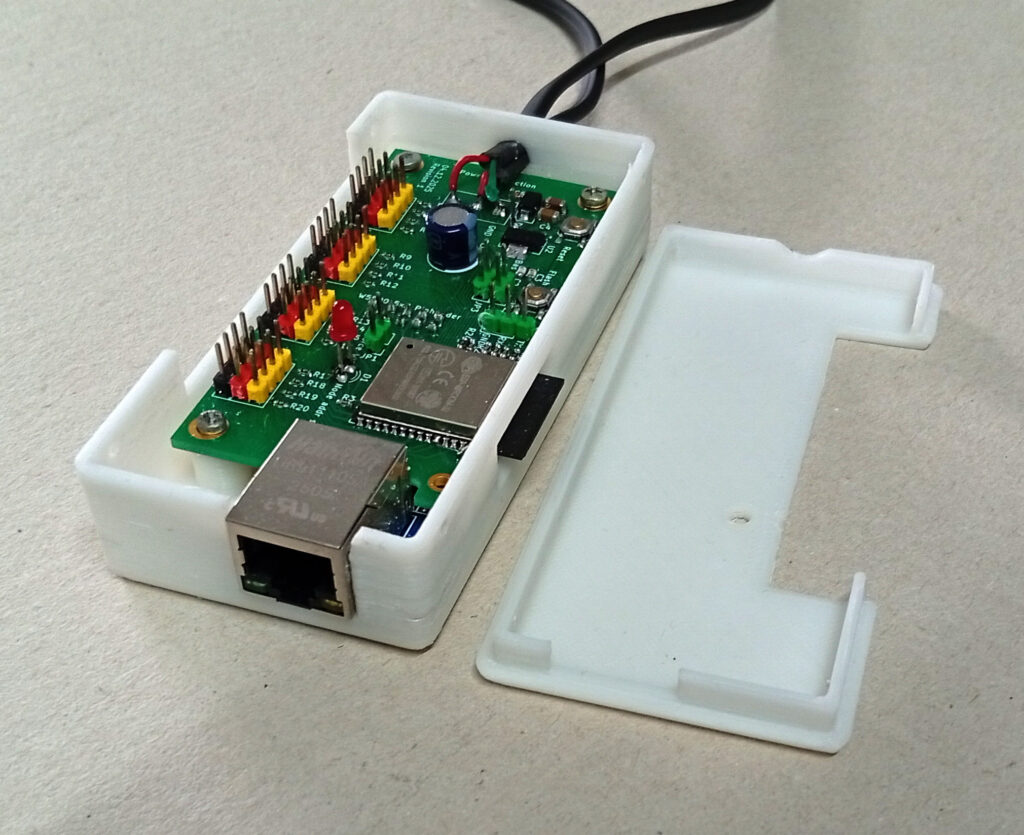
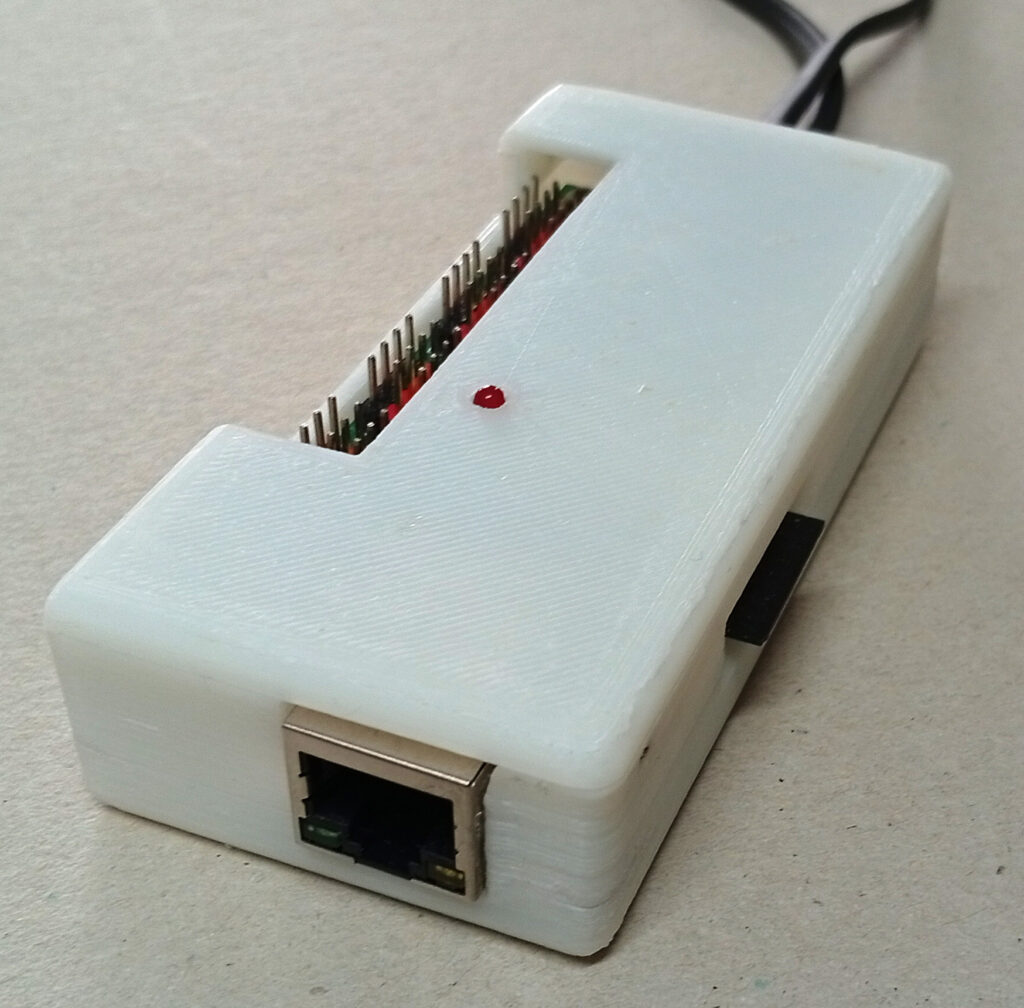
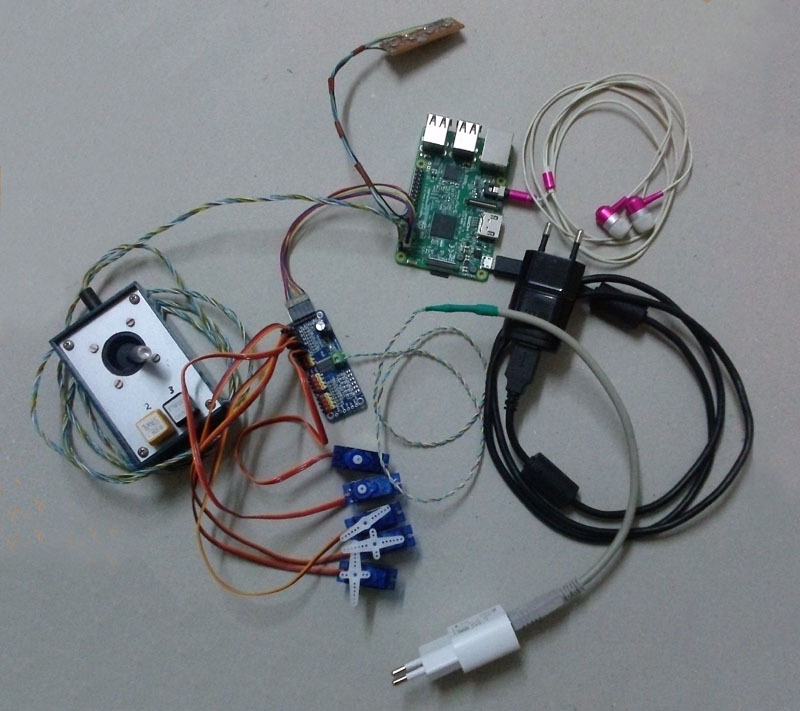
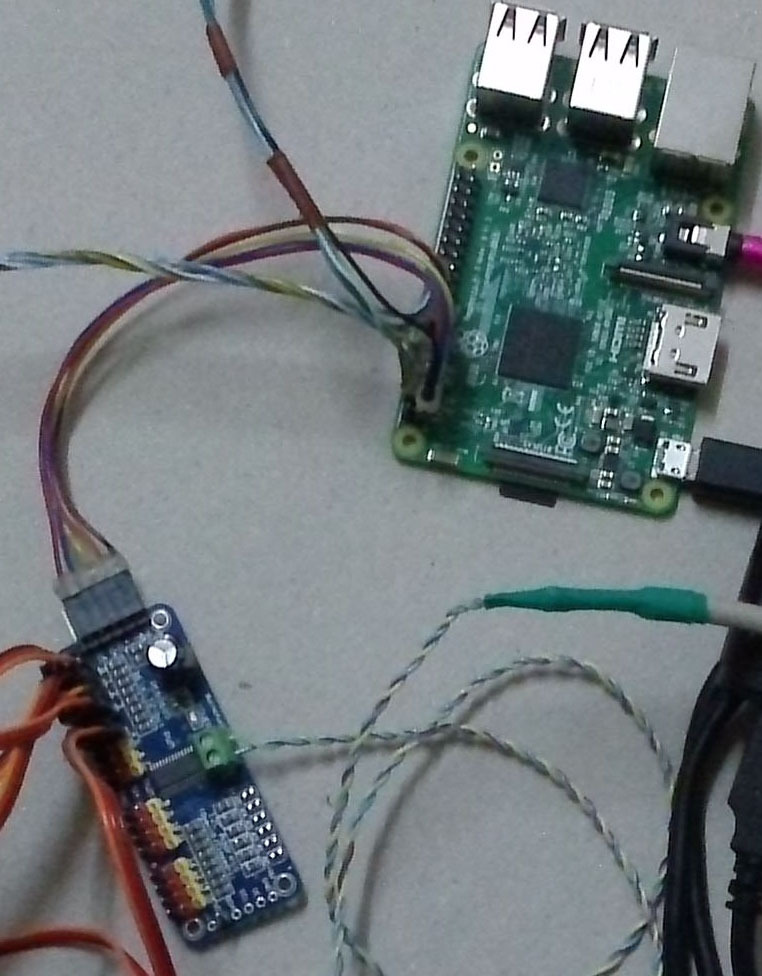
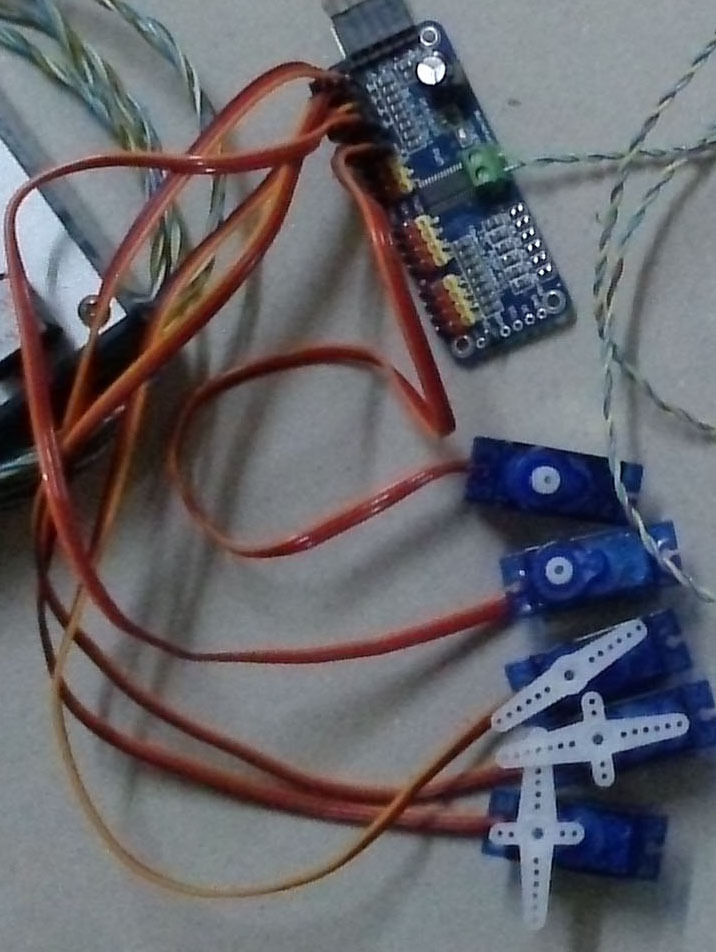
Here is the minimum hardware equipment: Raspi3 with PCA9685 PWM Controller, cabling and power supplies. In addition the joy stick and some servos. The small PCB holds the operating buttons to control play. The ear plugs are fine for recording. Later for play, you connect there an amplifier. If you need to connect more than 16, 32, 48, 64 servos, you need to add an additional PCA9685 PCB or chip for each step. See therefore the following page, how to connect and address:
With Bechele Software Version 3.0 you may also use network devices to realize large installations, because the distance in between the characters may be much bigger than with PCA9685 devices.