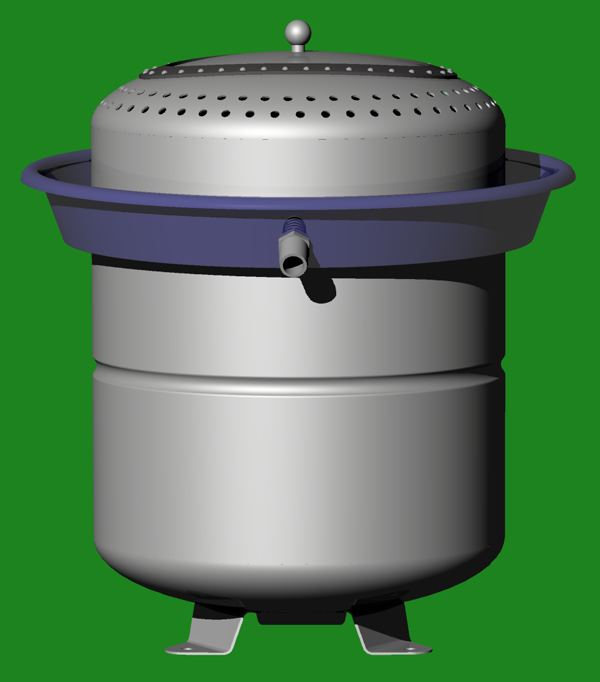
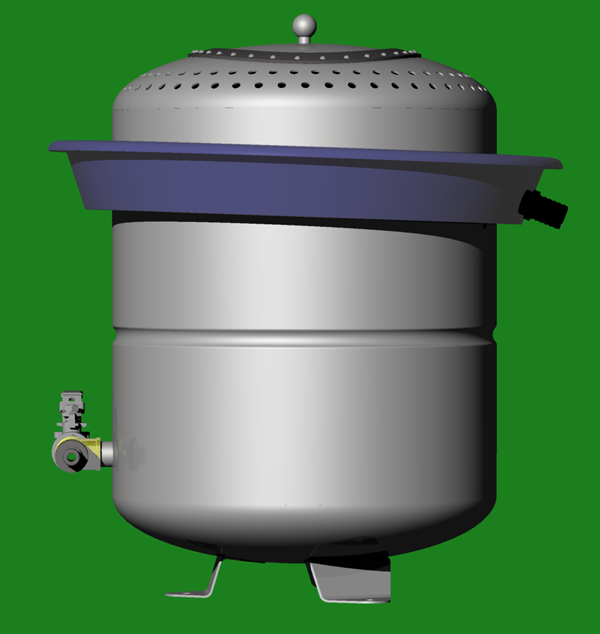
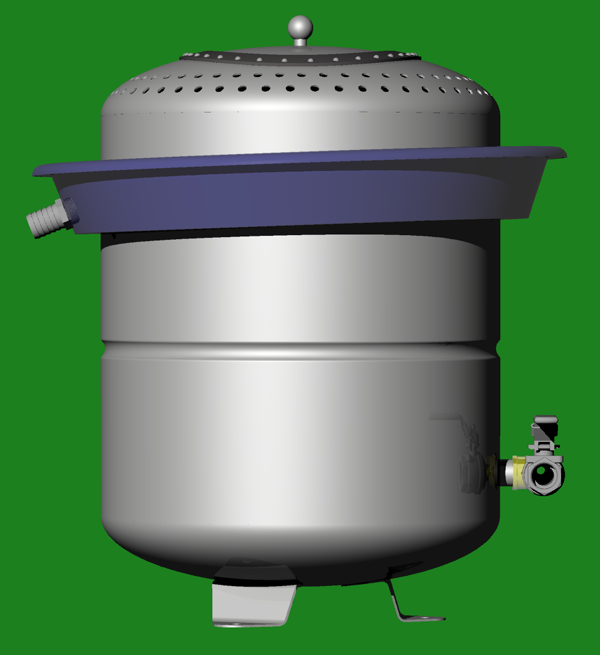
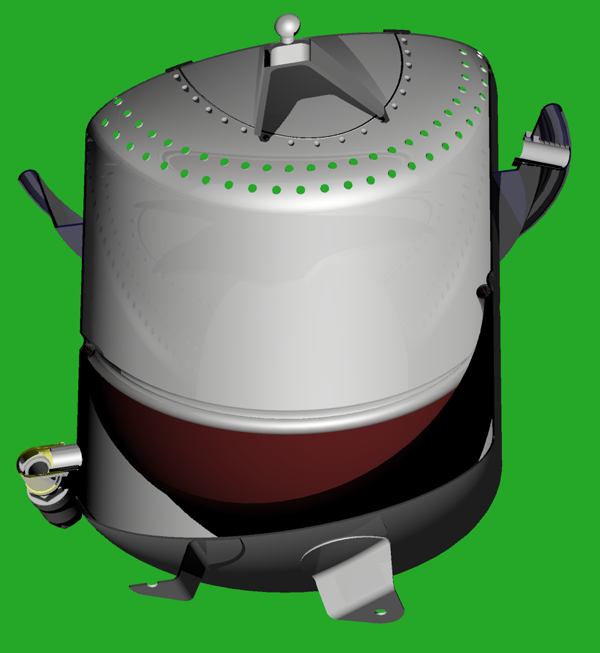
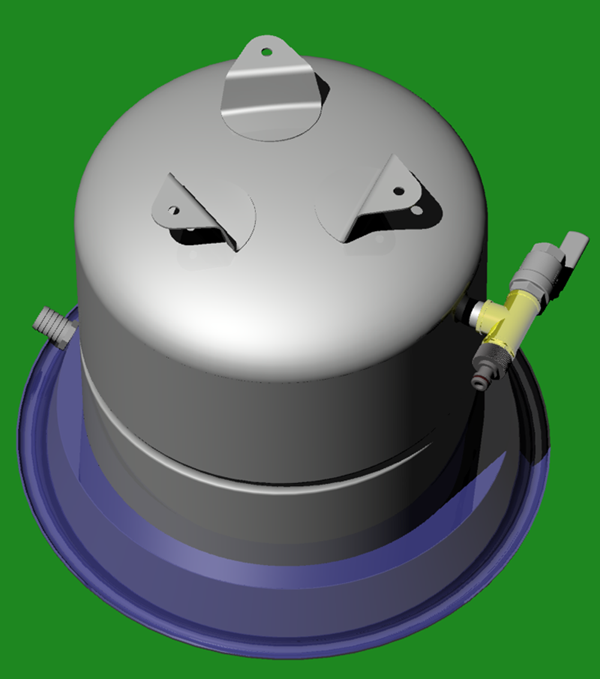
How to build the Press in a short description
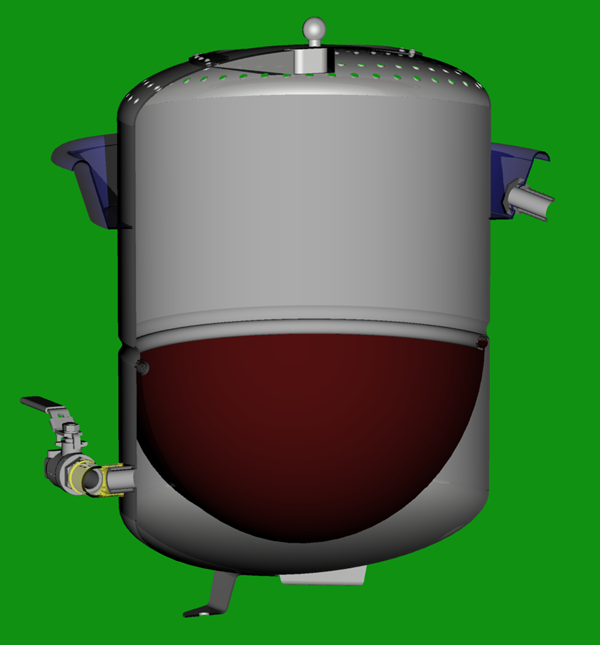
A new 50 l surge tank can be purchased starting from 60 Euros and that’s already the most expensive part.
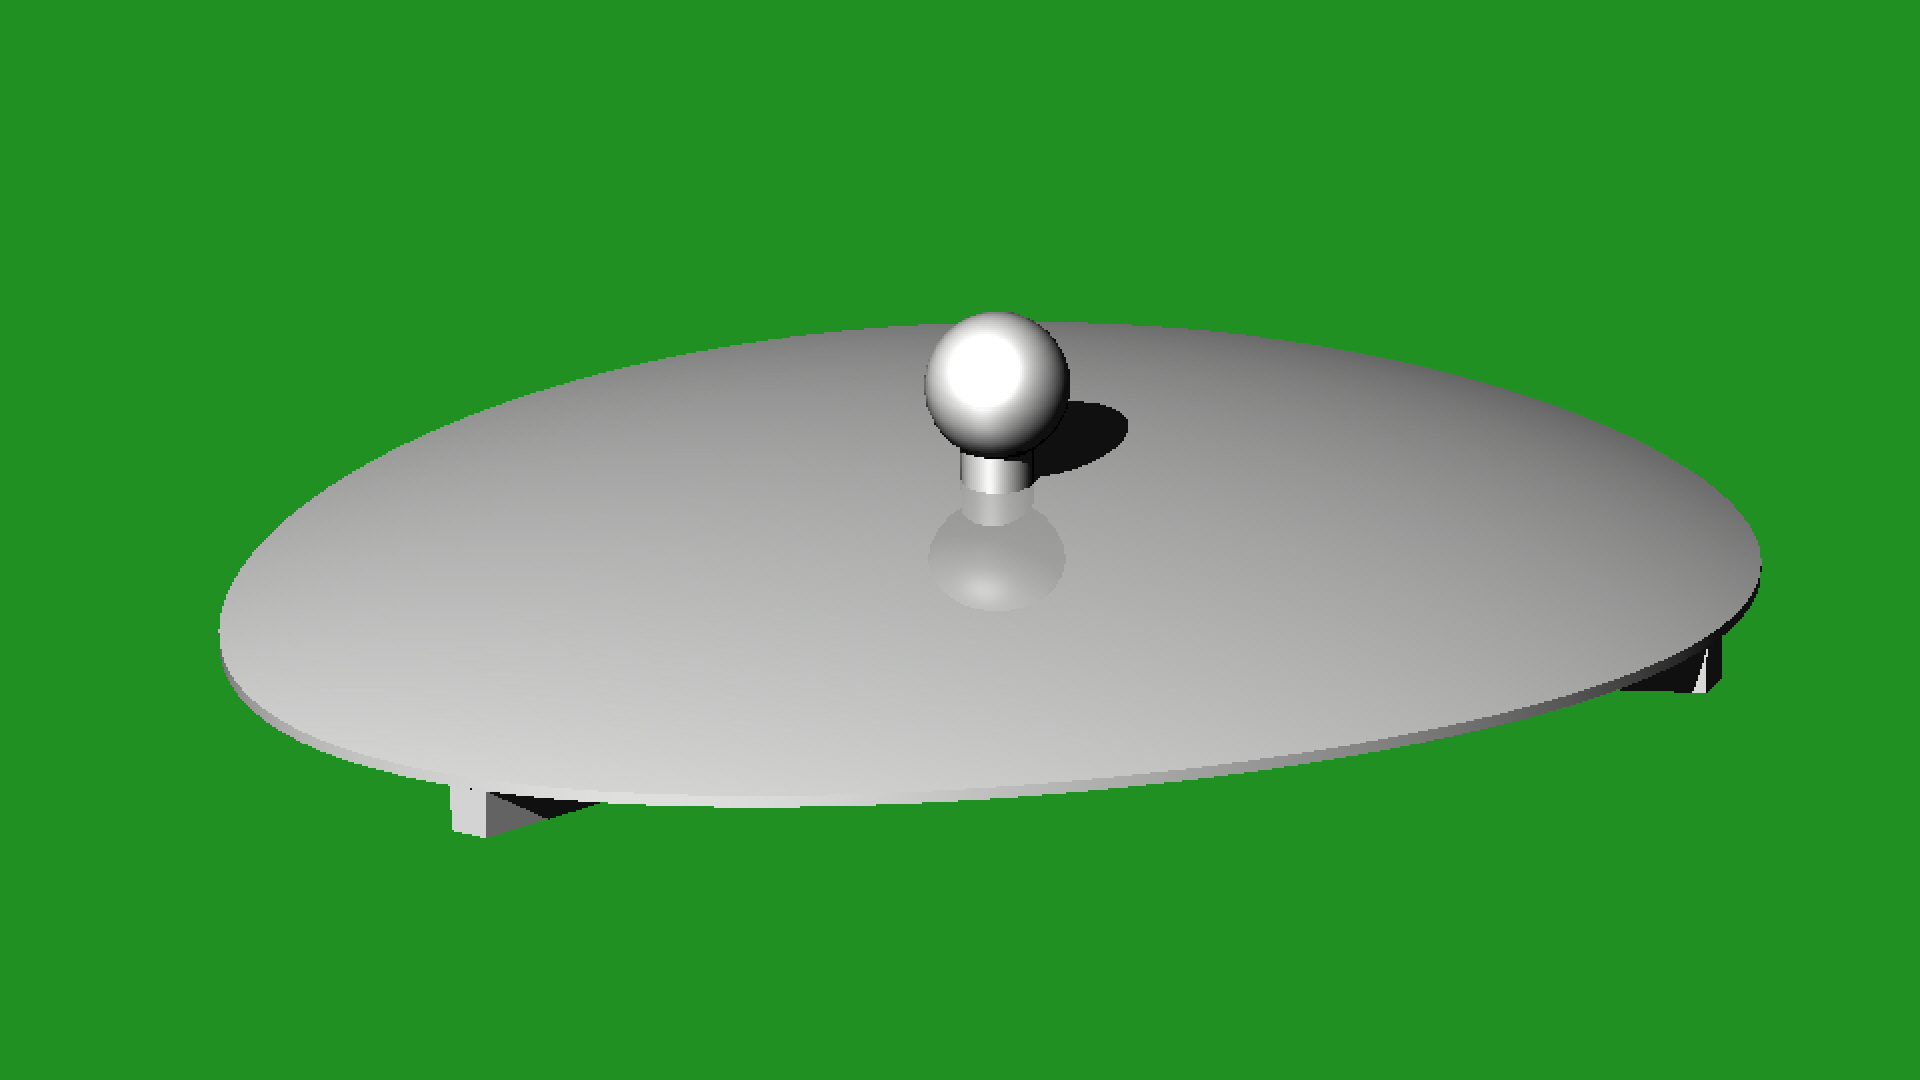
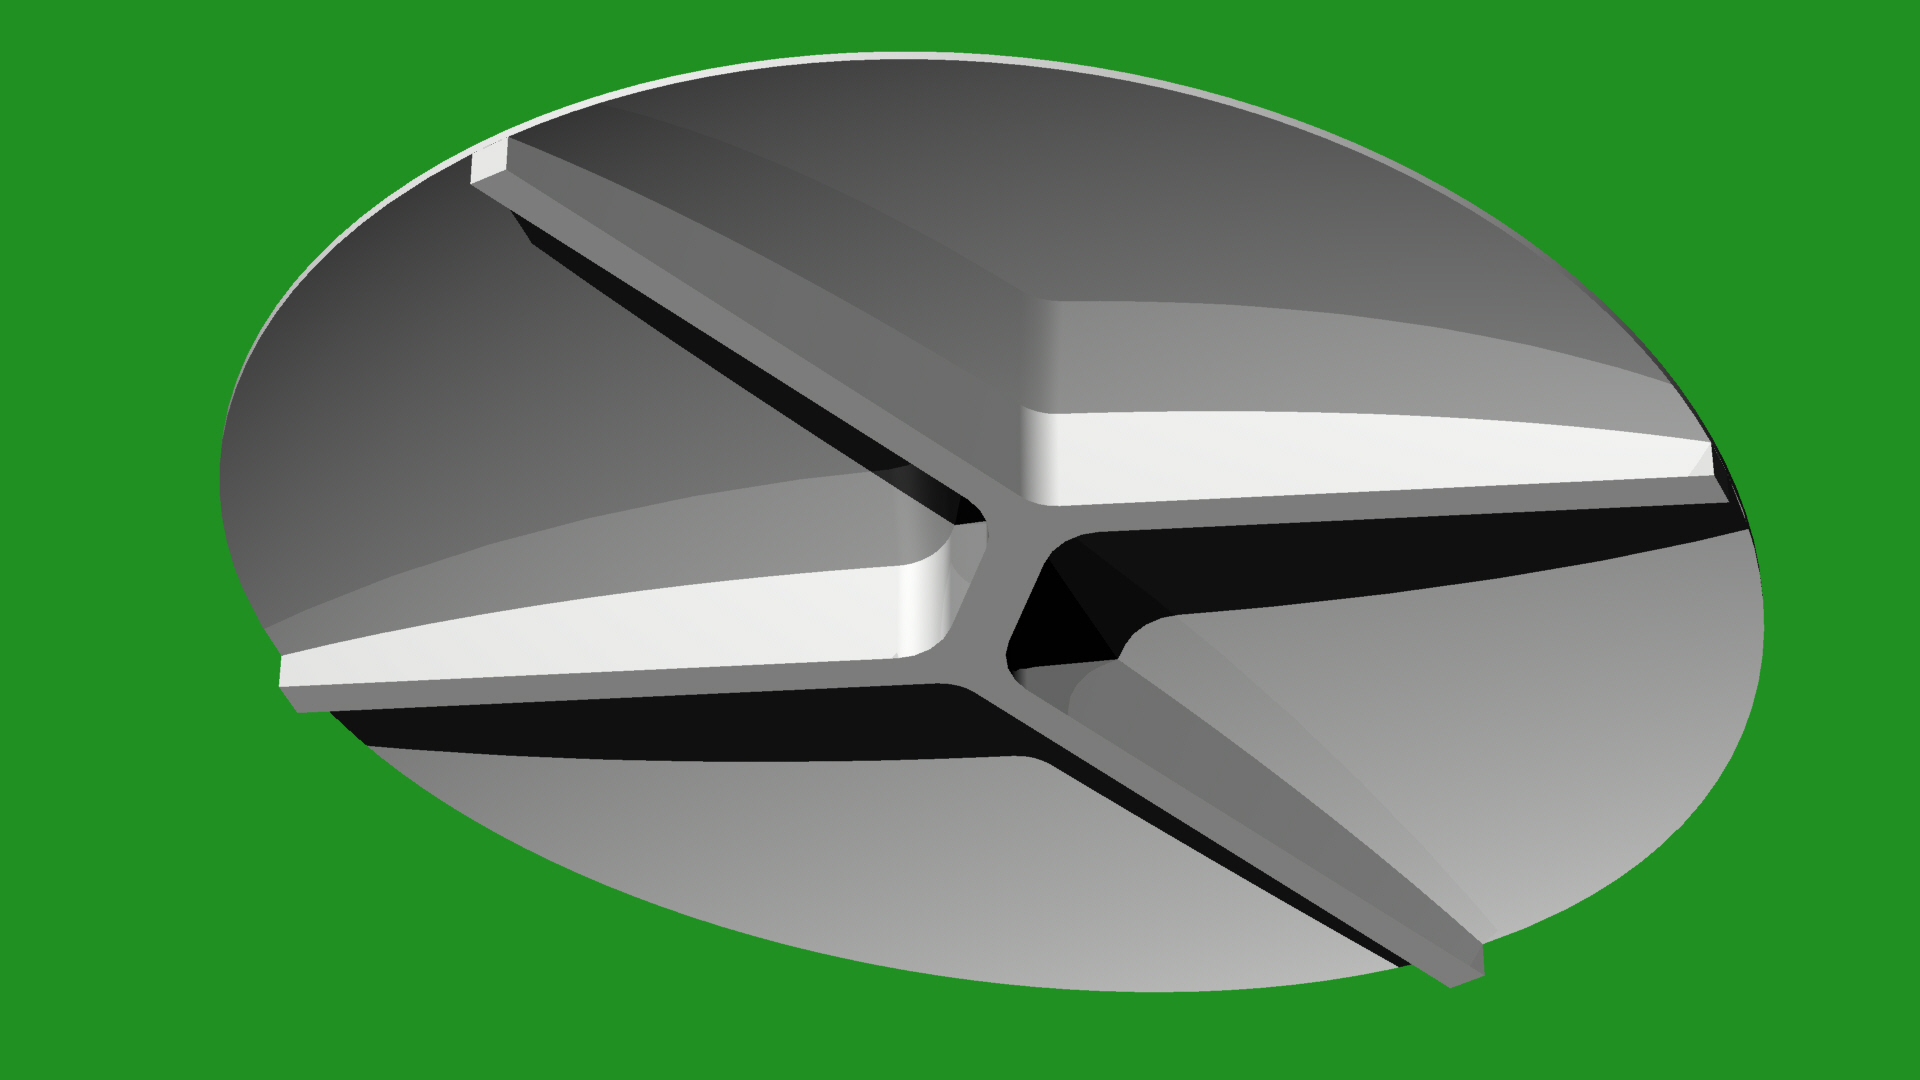
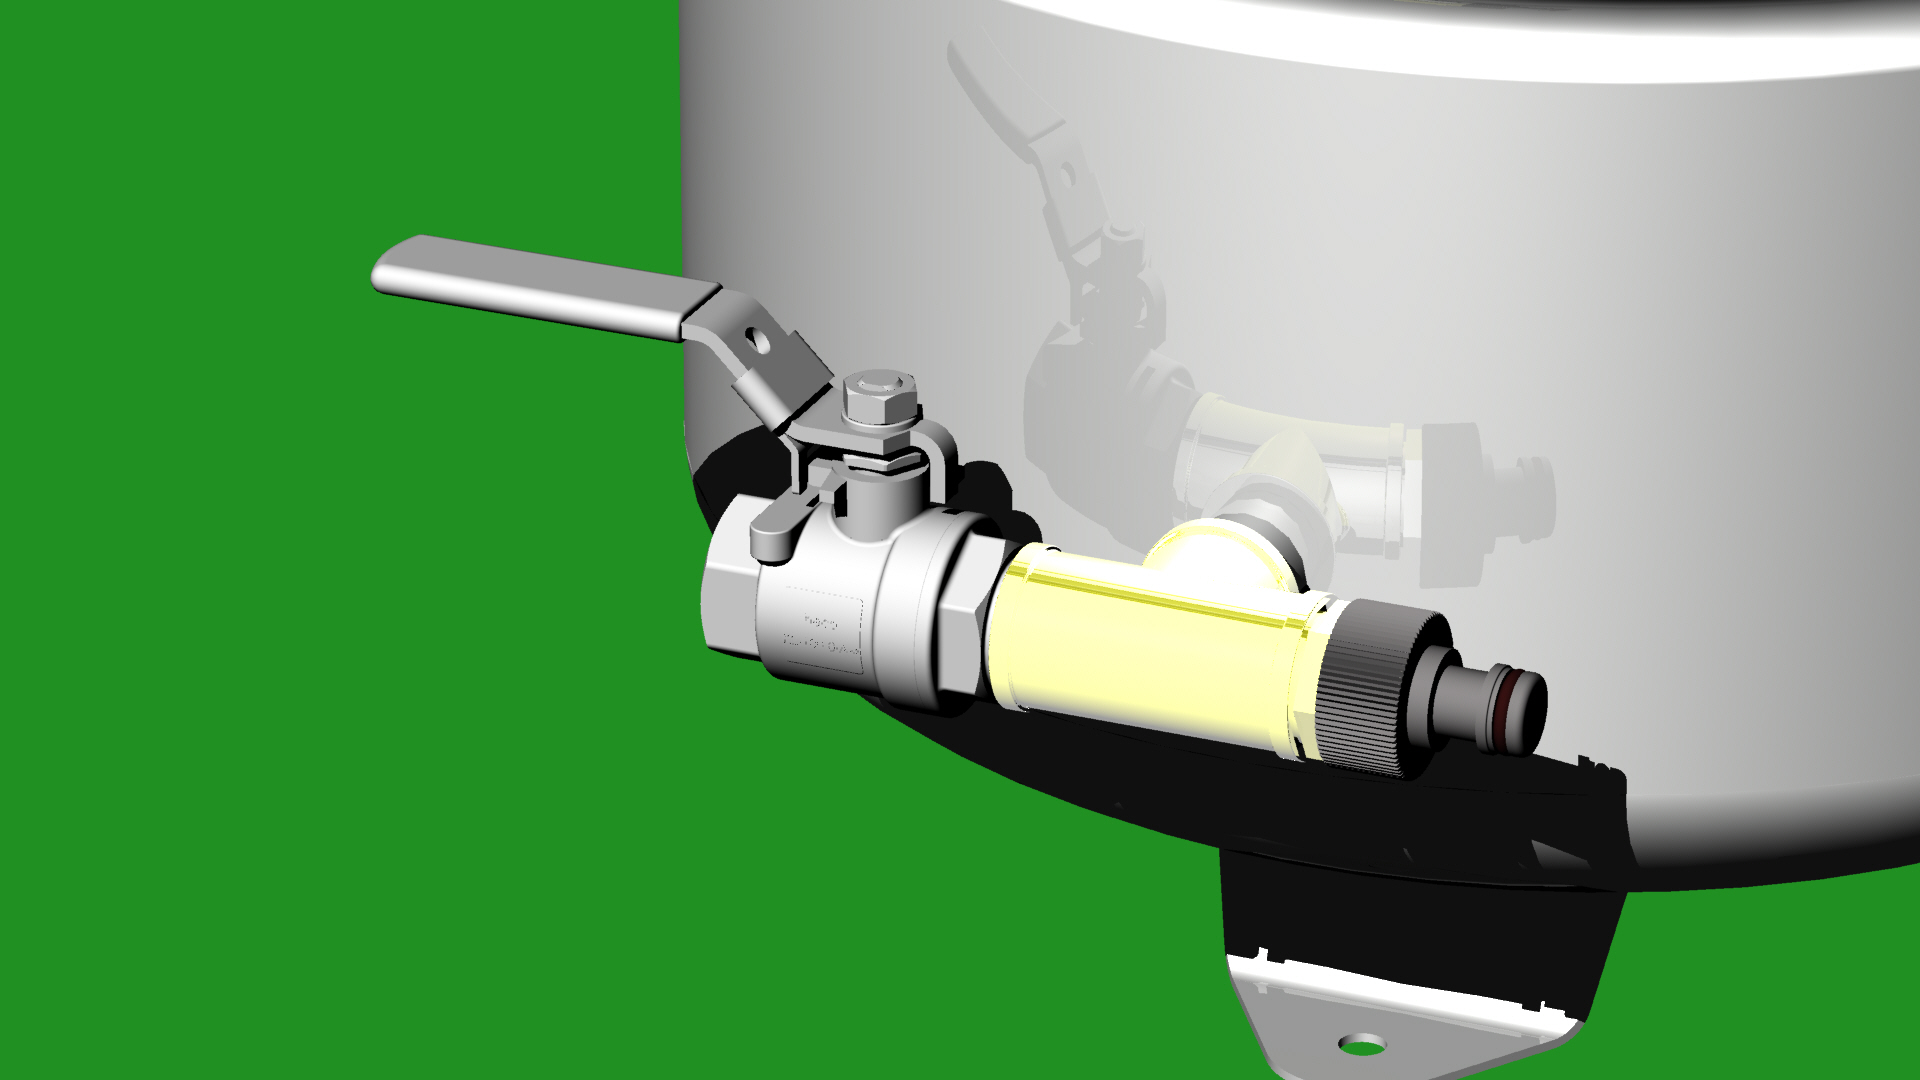
First you saw a oval ring out of the steel pate that needs to be bent in the next step to be aligned to the surface where you want to cut the hole into the tank. The bending work I did, using a vice and adjustable wrench step by step in small pieces. After the ring is aligned to the curved tank – this means it rests everywhere flat on the surface of the tank – mark the oval hole with a pencil and add some border around to about the middle of the ring to determine the saw line. In the upper part (recognizable by the air valve) you need to cut the oval hole (keep in mind that you need the cap also). Oval, because later the cap needs to be inserted into the hole to cover it during operation. The ring is used as a stop for the cap and must be therefore very stable to withstand the mechanical pressure. The ring should be drilled in position on the tank after it will be riveted. On the Water side a T-Fitting will be applied to which on one side the water inlet will be mounted and on the other side the stopcock to allow dumping the water. On my press the cap needed to be enforced because it started to bend during the first press test. There are surely smarter solutions than my rips I welded in provisional. Now the metal parts need to be painted with food proof paint to save the steel from the agressive fruit acids. Finally you make a hole into the flower pot plate of the size of the tank diameter. Then put the juice ring in 2 ° angle over the tank and fix it with transparent silicon. On the deepest point mount the hose nozzle. You may think why not welding the ring instead of riveting. Well, the tank material is usually cold formed and therefore stiffened. If you weld it, it can become weak and may not withstand the pressure any more.
