
Achtually in the project its not too much about creating hard ware. Also its not too much about electronics, that has not changed since the first project (bechele 1) because it consists of cheap ready made parts. At prices of about 4 euro for a PCA9685 PWM controller direct form china, self made simply does not make sense. However you need to know the used parts and how to wire up, therefore the description here:
Related links:
Project main wiring
Servo Board Chaining
The Joy Stick
The Hardware of the project consists of the following parts:
- Raspberry Pi 3 Modell B, Raspberry Pi 1B or OrangePi PC
- 16 channel PWM servo controller(s) from Duinofun, DeekRobot or Adafruit based on chip PCA9685
If you need more than one PCA9685 PWM PCB, see the following link how to use several: Servo Board Chaining - Here you can find more about how to wire the recommended components: Project main wiring
- Analogue (or digital) model building servos – for example SG90, MG90 or many other types.
- Plug based power supplies 5V 1x for Rasperry Pi and 1x for each servo PCB (The partition of the power supplies prevents of electrical disturbance and is actually mandatory) You may also use a big 5V power supply for several PWM servo PCBs. But make sure each board has its own power line to the power supply. I noticed, that chaining the servo power through the Extension pins leads to problems with electric disturbances, that caused the PWM PCBs to work unreliable.
- The joy stick (self made) with data processing via Arduino Micro Pro and transfer via serial interface to the Raspberry Pi. Alternatively a USB joystick or gamepad may be used instead.
- The model, puppet or movement mechanics for your individual project. You may use your own design, parts of my eye mechanics designs on Thingiverse or any other mechanics, that may be driven by servos.
- Amplifier and loud speaker that amplifies the audio data from the Raspberry Pi. With Audio you are not bound to the audio jack. You may also use the HDMI output, or any other audio hardware USB or GPIO based you can add to the mini computer. Just set up you audio mixer in use (alsamixer) accordingly.
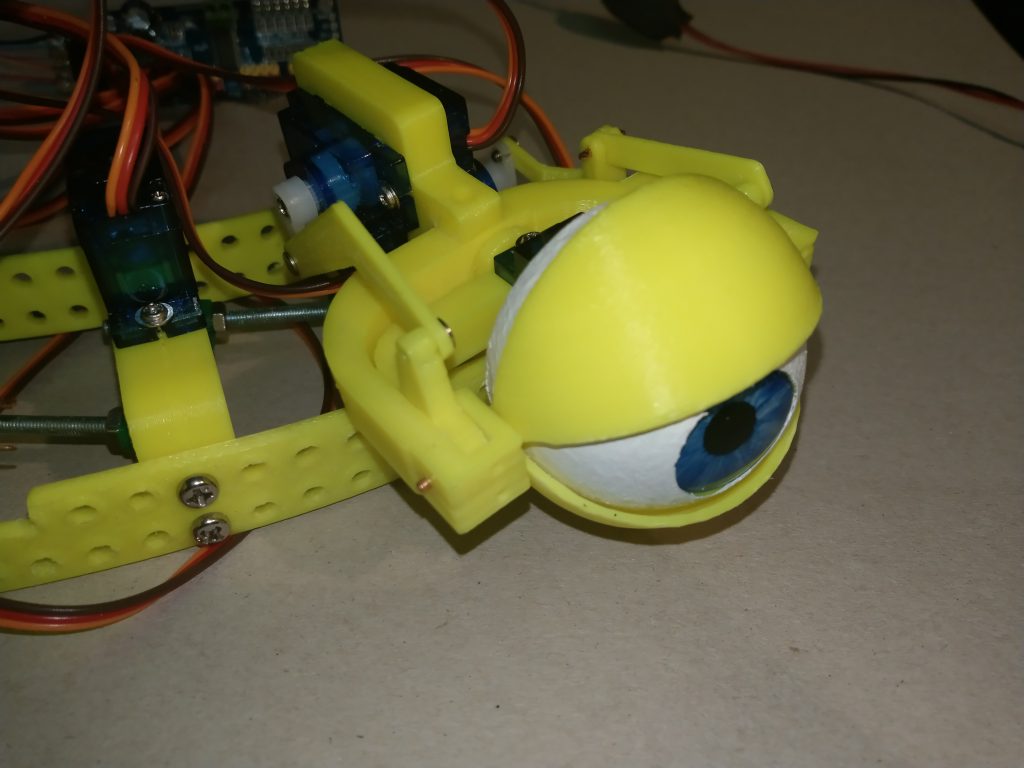
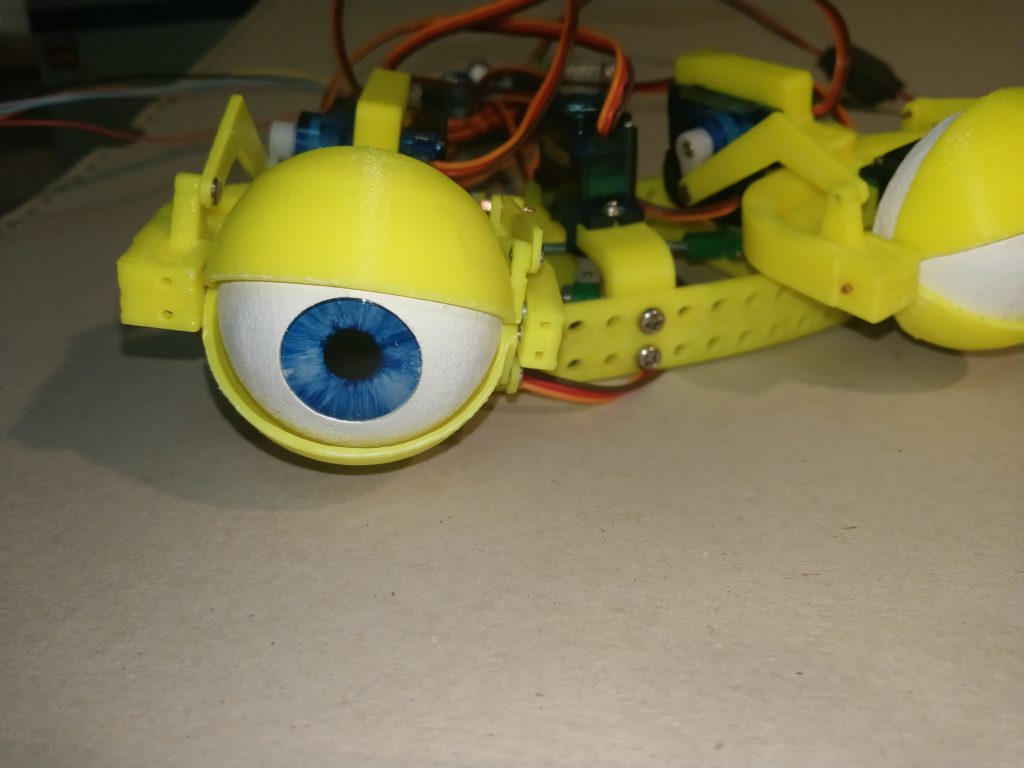
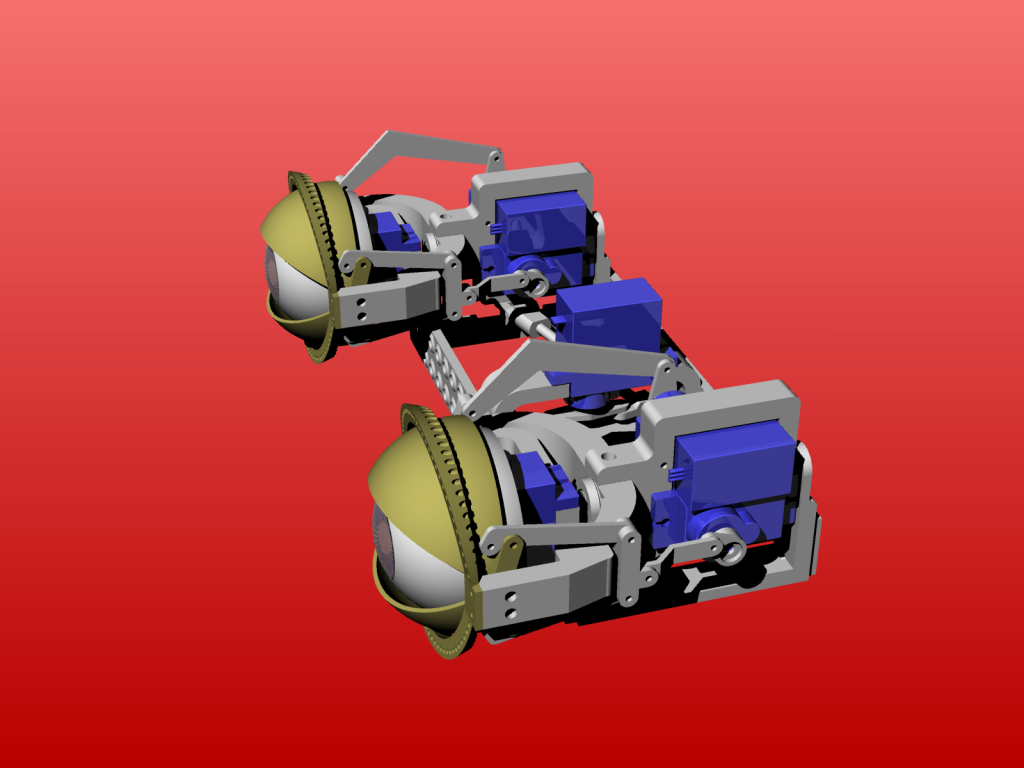
I recommend to use one of my 3D printable eye mechanics, since the time to build them is much less than making your own hand made mechanics.
See terefore:
3D printable eye mechanics on Thingiverse.com:
https://www.thingiverse.com/thing:4058084
https://www.thingiverse.com/thing:2781756 and https://www.thingiverse.com/thing:2863069
https://www.thingiverse.com/kakiemon
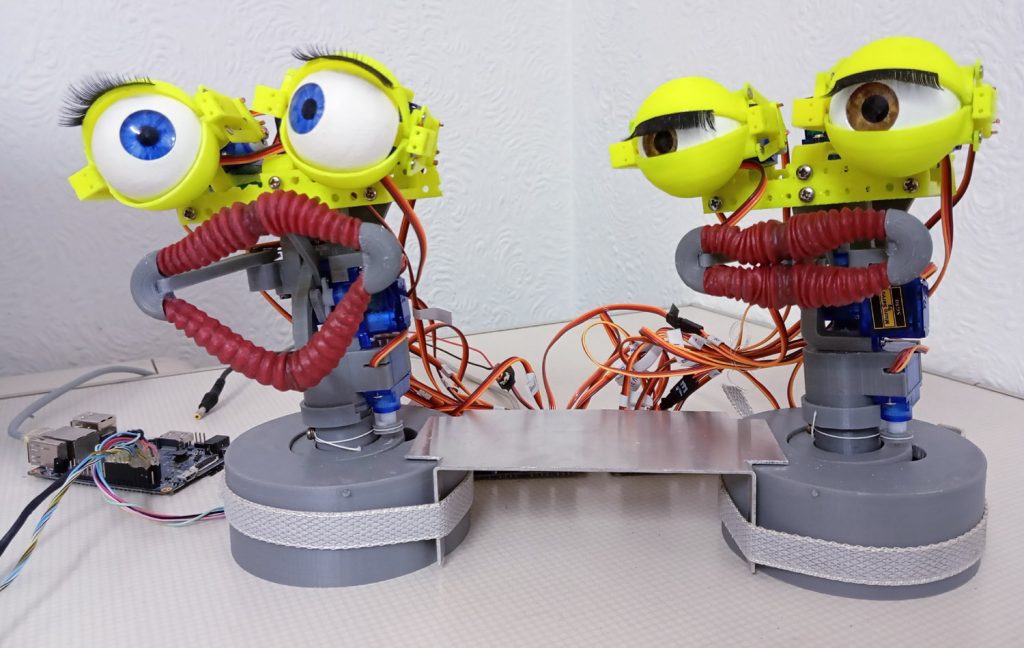
Short the functions of the puppet head(s):
- Movement of the eye lids left and right seperately (2 Servos)
- Mouth movement open and close (1 Servo)
- Eye movement left -right and up-down (3 Servos)
- Movement of the eye angle (1 Servo)
- Movement of the eye brows (2 Servos)
- Movement of the mouth corners (2 Servos)
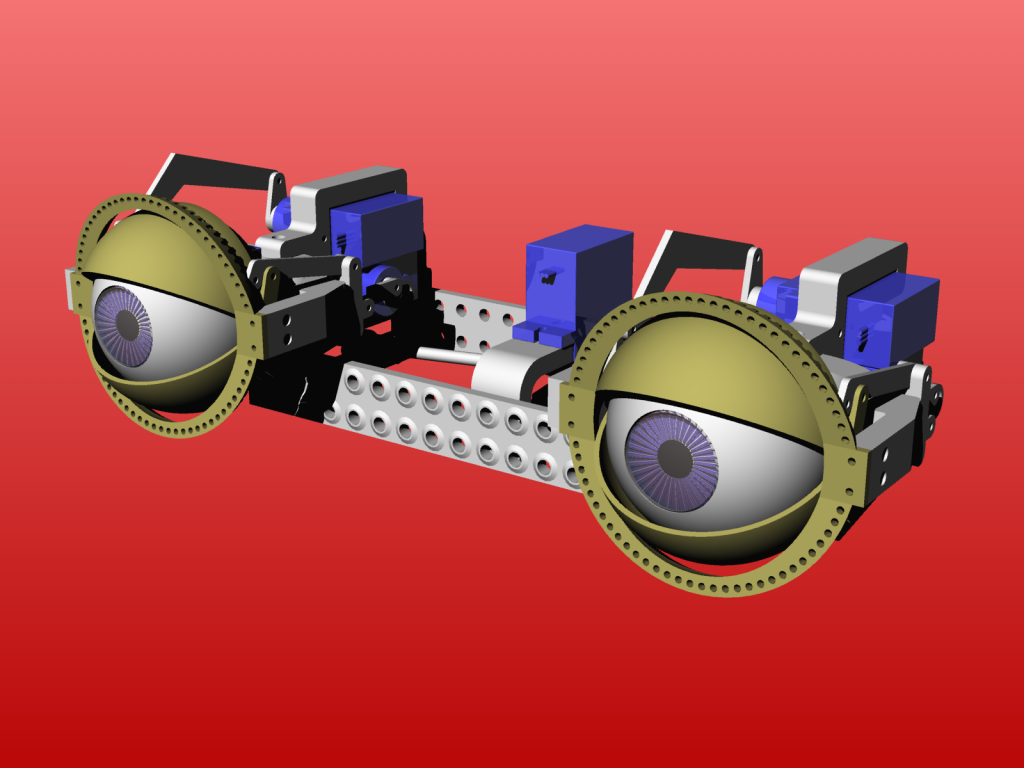
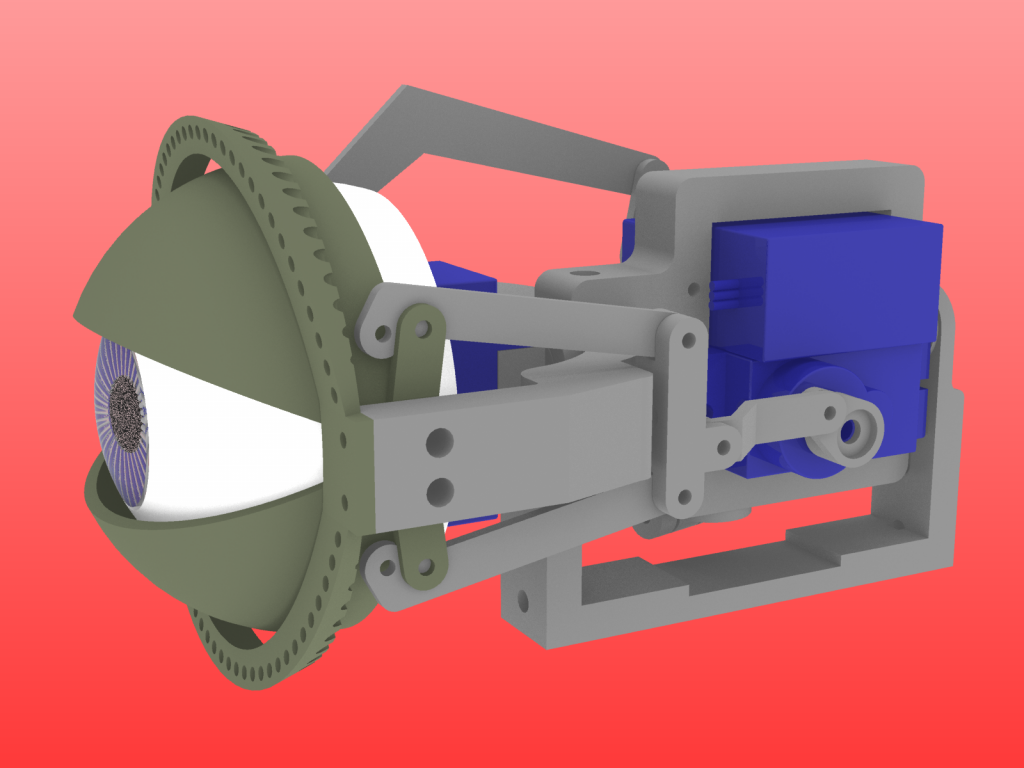
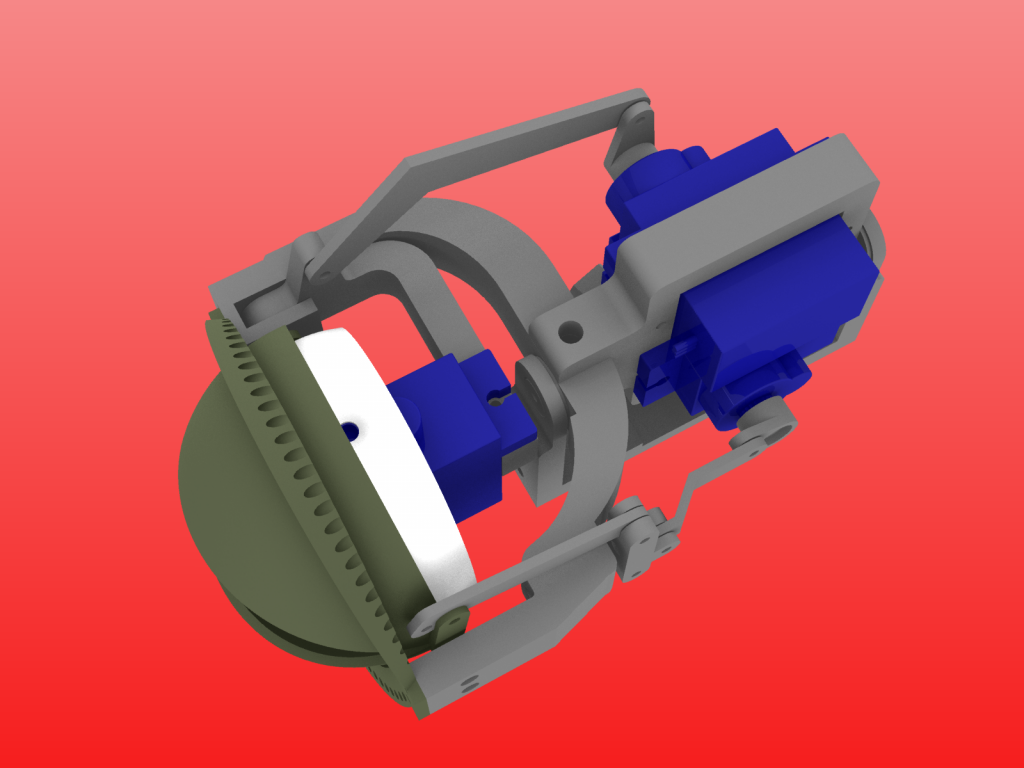
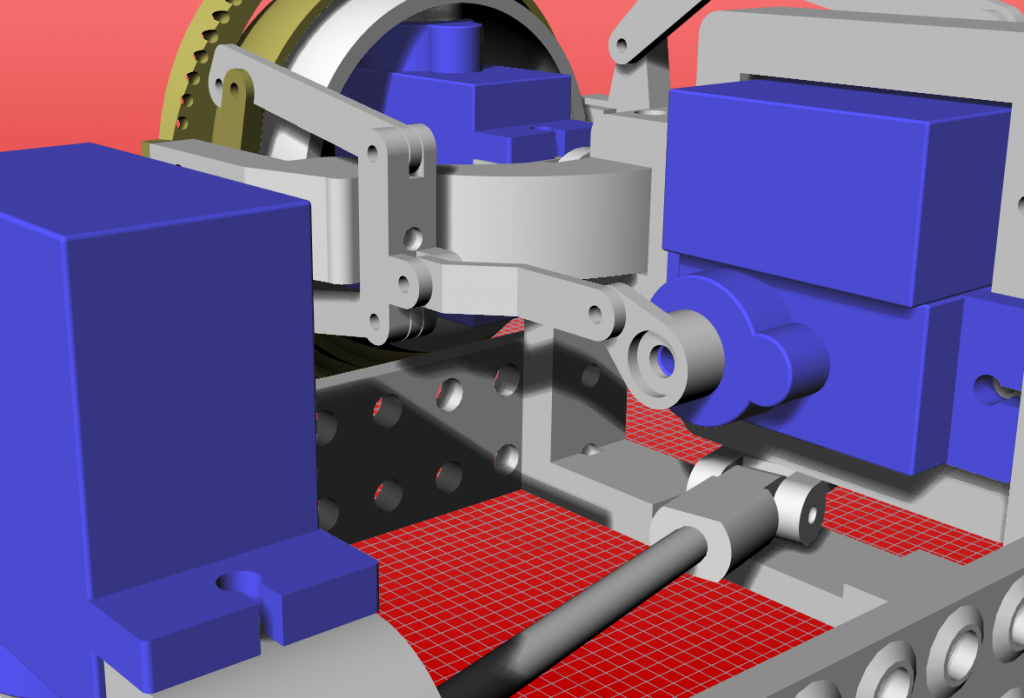
Here some impressions of the two most recent projects:

Hi Rolf, wondering what would happen if the power cut out while my robot is powered and under load, we get a few power cuts every year, would it affect the whole system in a bad way? If so, how would i solve it from causing issues?
Hi Leong – is this your first name ?
If you have a power cut, the raspi or orangepi will crash. Typically nothing further will happen there. For the PWM PCB it it could be, that some wrong PWM value is suddenly used. If the power comes back it could mean one of the mechanical limits of a servo could be reached, which results in a overheating of the servo, since it tries to move further than it can. In worst case your servo will die. Currently I am busy with a new software with much more features and one of it is, that the PWM is switched off after a sequence of movements. Hope the new software is available soon.
Hello, thank you for replying — yes it is my first time making this project, im very interested! What do you mean by the raspi will crash? Does it mean that it stops working then it fixes its self when power is back on? Hope when new Software is done could you email it to me please, thank you, thanks again for reply!
Hello Leong, meanwhile the new software is on github https://github.com/bechele/bechele
I mean, after a power cut, the mini computer will boot. Depending on your setup, you may auto-start the software if you want. By default, this is not the case. I once had a small script in /usr/local/bin/bechele called activate_autostart, but I just noticed, that this is corrupted somehow.
I will publish a service setup to do a autostart of the software. Have a look in the Project page.
Thank you so much for replying back, i assume i woud replace the the contents in the sd with the new github files yes? And how do i auto-start the software, or would it be more efficent to add your auto startup service? Also may you please take a look at my other comments on your other pages, or would i ask them here? Thank you so much for replying, and sorry i didint reply earlier!
Hello again, i just noticed the recommended model of raspi is the model 8, i only have model b, would it still work? Thank you!
Oh beg your pardon it dosent say 8 it is B, apologies, i couldent see it poprerly.
There are three prepared SD card images availabe. One for RaspberryPi 1b and one for Raspberry 3b. Additionly a Image for OrangePi PC exists. Theoretically the software will run on most linux based mini computers that have a GPIO header if you install the software from the tar G-zipped archive or from github. However the installation of the necessary software is not too straight forward, so this is intended for experienced linux users. Nevertheless you will find an installation instruction on my site.
Hi, may i use Arduino Uno model with custom made joy stick?
Almost any arduino will be able to run the tiny program that controls the joy stick. I have not tested, but I see no reason why it should not work.